
by Kate Thompson | Aug 14, 2017 | Main Dishes, Soups and Stews, Thermal Cookers
Taco soup is one of my favorite thermal cooker meals. Okay. It’s just one of my favorite meals. And my entire family eats it without coercion and then they fight over the leftovers. I’ve tried several recipes over the years but I believe this is the...
by Kate Thompson | Feb 17, 2017 | Comfort Food, Main Dishes, On the Go, Saratoga Jacks, Soups and Stews, Thermal Cookers
In January we surprised the kids with a 2-night stay at Great Wolf Lodge in Grand Mound, WA. We love Great Wolf but our bank account does not love it. The plan was to pick the kids up from school and drive through Seattle and Tacoma rush-hour traffic, arriving at the...
by Kate Thompson | Feb 8, 2017 | Italian, Main Dishes, Meat, Sauces, Thermal Cookers
I’ve been messing around with noodles in the thermal cooker and I haven’t had awesome luck. If you keep them in the thermal cooker for the entire cooking time, they get swollen and mushy. If you add them for the last 30 minutes of cooking time, they get soft but also...
by Kate Thompson | Jan 24, 2017 | Saratoga Jacks, Thermal Cookers
It’s been a while since I posted on this site. Mostly it’s laziness. I’ve got some good recipes queued up though so stay tuned. I also hit a snag in my thermal cooker love affair and I wanted to get it sorted out before posting about it. We’ve researched quite a bit...
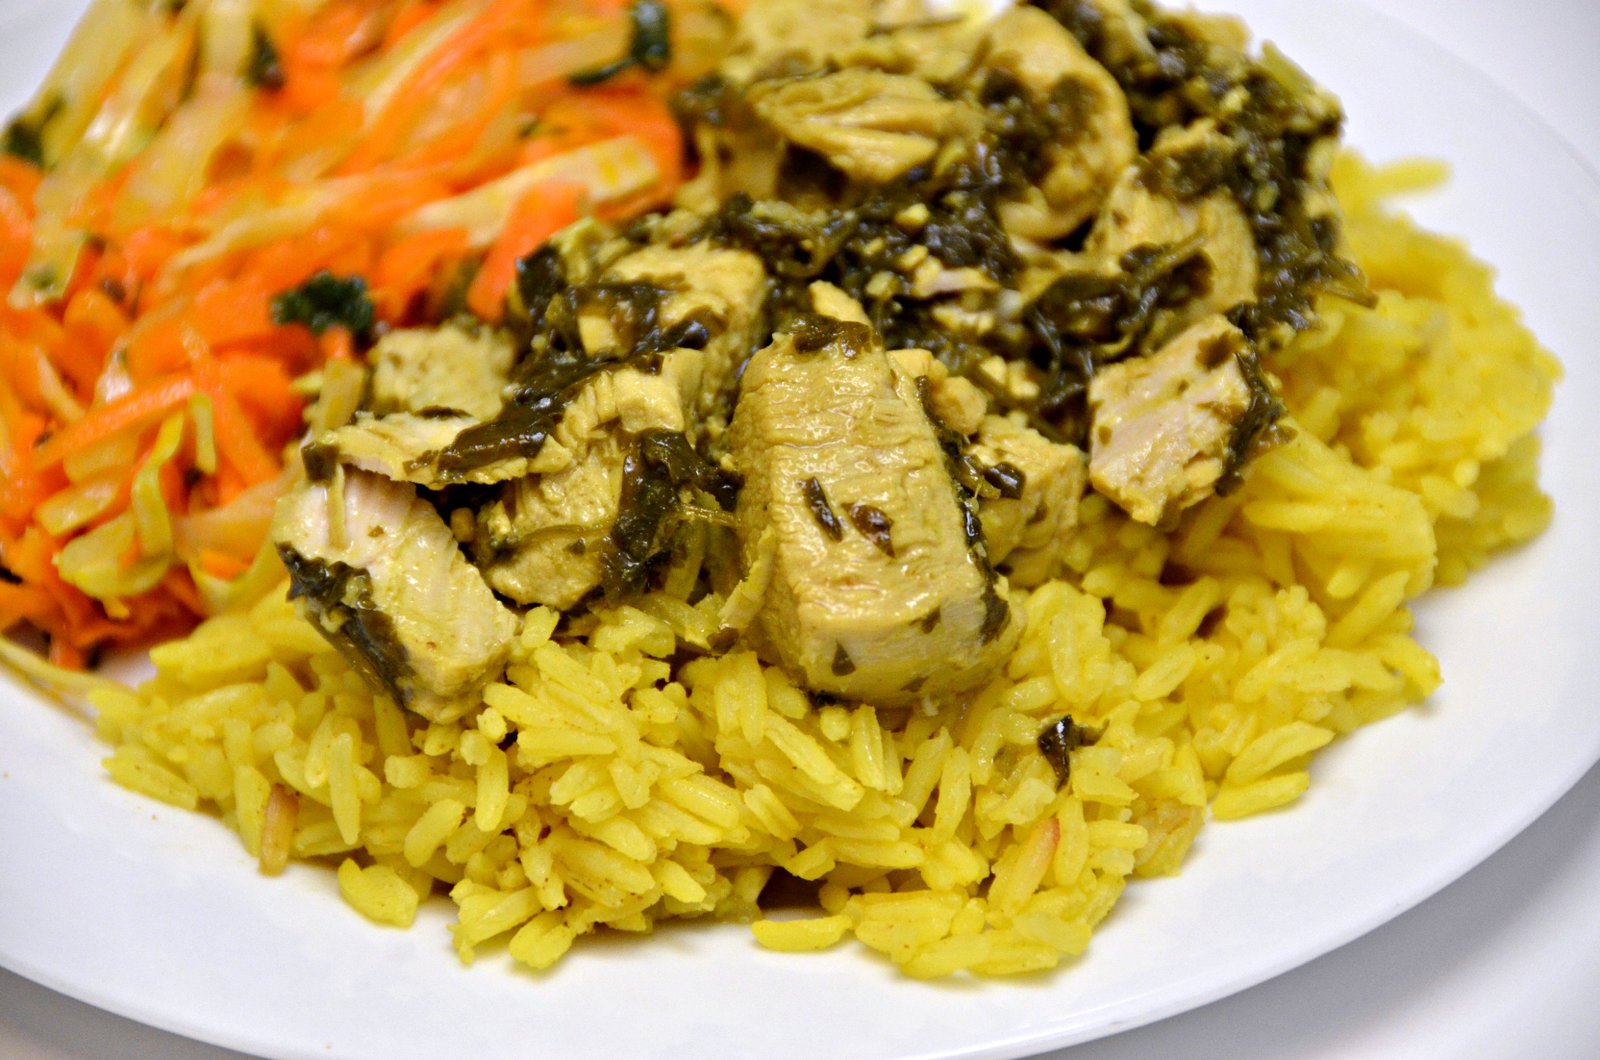
by Kate Thompson | Oct 6, 2016 | Indian Food, Main Dishes, Regional Food, Saratoga Jacks, Side Dishes, Thermal Cookers
Everything delicious I know about Indian food, I learned from Madhur Jaffrey. She is a goddess. This recipe is based on two recipes from her Indian Cooking book, Lemony Chicken with Fresh Coriander and Aromatic Yellow Rice. Anyone I’ve ever made these for loves...

by Kate Thompson | Sep 29, 2016 | Asian, Main Dishes, Meat, Thermal Cookers
This recipe is cheating. The entire meal takes a maximum of 10 minutes to prep and then it’s hot and ready for your family when you want it, fresh from the thermal cooker. Even calling it a “recipe” feels like a bit of a stretch. It has so few ingredients...


