• Skip to content
  • Skip to primary sidebar

Thermal Cooker Recipes

Your Source for Thermal Cooker Recipes and Information

Main Dishes

Taco Soup Recipe

August 14, 2017 by Kate Thompson 3 Comments


Taco soup is one of my favorite thermal cooker meals.

Okay. It’s just one of my favorite meals. And my entire family eats it without coercion and then they fight over the leftovers. I’ve tried several recipes over the years but I believe this is the one soup recipe to rule them all. No need to throw it in a volcano though. Just throw it in your thermal cooker.

It goes a little something like this:

Thermal Cooker Taco Soup

Soup ingredients:

2 lbs ground beef or turkey (browned)
4 cups water
1 med onion (chopped)
1 green bell pepper (chopped)
1 cup chopped celery
4 cups corn (drained if canned)
1 can (15 oz.) kidney beans (drained and rinsed)
1 can (15 oz.) pork and beans
1 can (15 oz.) tomato soup
1 can (8 oz.) tomato paste
1 envelope taco seasoning mix or 1/4 cup bulk taco seasoning powder

Toppings – grated cheddar cheese, sour cream, Fritos

Throw all soup ingredients in your large thermal cooker pot. Bring the mixture to a boil and boil hard for 3 minutes. Cover and seal your cooker for a few hours, until the veggies are as tender as you like them.

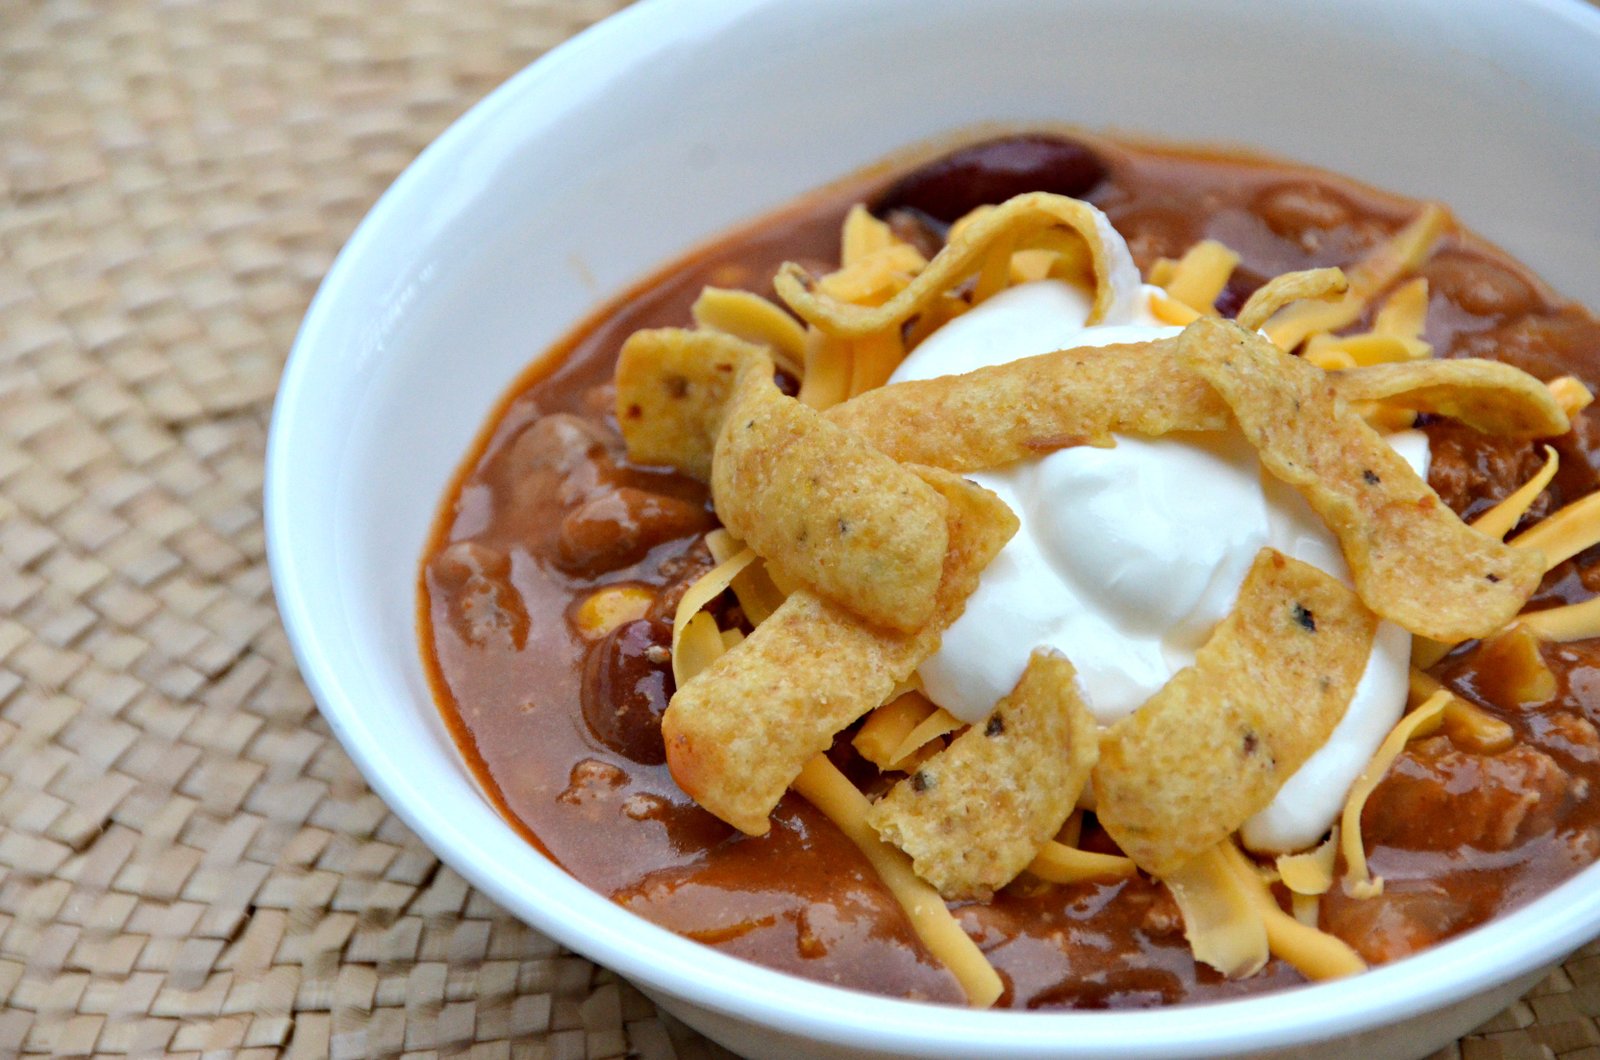
Serve topped with grated cheddar cheese, sour cream, and Fritos corn chips.

Taco Soup Recipe
Save RecipeSave Recipe
Print Recipe
My Recipes My Lists My Calendar

Ingredients

  • 2 lbs ground beef or turkey (browned)
  • 4 cups water
  • 1 med onion (chopped)
  • 1 green bell pepper (chopped)
  • 1 cup chopped celery
  • 4 cups corn (drained if canned)
  • 1 can (15 oz.) kidney beans (drained and rinsed)
  • 1 can (15 oz.) pork and beans
  • 1 can (15 oz.) tomato soup
  • 1 can (8 oz.) tomato paste
  • 1 envelope taco seasoning mix or 1/4 cup bulk taco seasoning powder
  • Toppings - grated cheddar cheese, sour cream, Fritos

Instructions

Throw all soup ingredients in your large thermal cooker pot. Bring the mixture to a boil and boil hard for 3 minutes. Cover and seal your cooker for a few hours, until the veggies are as tender as you like them.

Serve topped with grated cheddar cheese, sour cream, and Fritos corn chips.

7.8.1.2
13
http://thermalcookerrecipes.com/taco-soup-recipe/
Copyright ThermalCookerRecipes.com

Disclaimers and Other Stuff

Thermalcookerrecipes.com provides recipes as a resource and educational tool only, and makes no food safety guarantees. We are not liable for any failure to meet food safety standards that may arise in your thermal cooking. We make every effort to ensure that our recipes meet established food safety standards. But all thermal cookers are not created equal, and there are many variables at play resulting in the temperatures reached and maintained in your thermal cooker. Always follow the manufacturer’s instructions for your specific brand and model of thermal cooker, even if that means tailoring our recipes.

If you are in doubt, please consult the FDA page on foodborne illness for safe cooking temperatures and other safety tips. And use a food thermometer to ensure that your food has been cooked and stored at a safe temperature.

Disclosure: This post may contain affiliate links. This means, we may receive a small commission if you choose to purchase something from a link we post. Don’t worry, it costs you nothing. Thank you for supporting our website!

Filed Under: Main Dishes, Soups and Stews, Thermal Cookers

Thermal Cooking – On Vacation

February 17, 2017 by Kate Thompson Leave a Comment

In January we surprised the kids with a 2-night stay at Great Wolf Lodge in Grand Mound, WA. We love Great Wolf but our bank account does not love it. The plan was to pick the kids up from school and drive through Seattle and Tacoma rush-hour traffic, arriving at the resort just in time for dinner.

In an attempt to minimize the financial damage, I planned to pack a picnic dinner that night and for at least one other meal on property. How could I make the meal a little more exciting than the standard PB&J?

THERMAL COOKER of course!

At about 1pm, I cooked up a big pot of chili in the thermal cooker, boiled it for a few minutes, sealed it up and threw it in the trunk of the van. When we arrived at our hotel room at 7:30, we opened up a burning-hot chili dinner. A family favorite on the road for the win!

Try taking your favorite chili or soup on the road next time you travel. You’ll love it!

Thermalcookerrecipes.com provides recipes as a resource and educational tool only, and makes no food safety guarantees. We are not liable for any failure to meet food safety standards that may arise in your thermal cooking. We make every effort to ensure that our recipes meet established food safety standards. But all thermal cookers are not created equal, and there are many variables at play resulting in the temperatures reached and maintained in your thermal cooker. Always follow the manufacturer’s instructions for your specific brand and model of thermal cooker, even if that means tailoring our recipes.

If you are in doubt, please consult the FDA page on foodborne illness for safe cooking temperatures and other safety tips. And use a food thermometer to ensure that your food has been cooked and stored at a safe temperature.

Disclosure: This post may contain affiliate links. This means, we may receive a small commission if you choose to purchase something from a link we post. Don’t worry, it costs you nothing. Thank you for supporting our website!

Filed Under: Comfort Food, Main Dishes, On the Go, Saratoga Jacks, Soups and Stews, Thermal Cookers

Thermal Cooker Spaghetti and Meat Sauce

February 8, 2017 by Kate Thompson 1 Comment

I’ve been messing around with noodles in the thermal cooker and I haven’t had awesome luck. If you keep them in the thermal cooker for the entire cooking time, they get swollen and mushy. If you add them for the last 30 minutes of cooking time, they get soft but also kind of gluey because the liquid is no longer actually boiling. Putting noodles to cook in hot but not boiling water is apparently a no-go.

Since I knew I was doing a spaghetti sauce recipe today, I thought I’d give noodles another try. The trick here is to cook the sauce as listed below. When there are maybe twenty minutes left until dinner, bring water to boil in the small inner pot. Add your noodles and boil for a minute or two. Then insert the small inner pot into the cooker with your spaghetti sauce that’s already been cooking for hours. Seal the cooker and let the noodles cook for the amount of time the package directions specifies.

So, for my whole wheat spaghetti noodles, I let them cook for 14 total minutes, including the time they were boiling on the stove and the time they were sealed in the thermal cooker. The package said “Boil 12 minutes.”

Then, what’s the point of using the thermal cooker to cook noodles this way. For one thing, you save a little energy by not having to boil the noodles the whole time. It’s also a convenient way to take dinner on the go. As you’re leaving the house for baseball, put the noodles in and then dish them up on the field.

Now for the sauce. This is an amazing sauce that can be modified a hundred different ways. The basic recipe was taught to me by my Peruvian aunt who was living in Montreal. She taught me how to cook this, while speaking French and with no exact measurements. She just tossed things in the pot and I tried to write down approximate amounts.

I’ve been making this sauce for nearly twenty years now and it’s a little different every time. So, make it your own.

Thermal Cooker Spaghetti and Meat Sauce

1 medium onion, diced
1 lb. ground beef or turkey
1 TBSP minced garlic
1 TBSP parsley
2 tsp paprika
2 tsp Italian seasoning
1 28oz can diced or pureed tomatoes
1 14oz can tomato sauce
1 8oz can tomato paste
1 24oz jar marinara sauce
1 tsp liquid beef bouillon or one bouillon cube
2 tsp sugar
Fresh grated parmesan (optional)

Heat oil in skillet and toss in onions. Stir the onions for about 5 minutes until they are translucent and begin to turn golden. Add ground beef or turkey and stir and break into small pieces until most of the pink is gone. Drain most of the fat. Then add garlic and spices and stir for 30 seconds. Dump in tomatoes, tomato sauce, tomato paste, marinara, and bullion. Bring to a boil for 3 minutes. Stir in sugar. Place in the thermal cooker and seal. Let cook for 1-4 hours until you’re ready to eat. Serve over noodles or vegetables and top with parmesan cheese.

Thermal Cooker Spaghetti and Meat Sauce
Save RecipeSave Recipe
Print Recipe
My Recipes My Lists My Calendar

Ingredients

  • 1 medium onion, diced
  • 1 lb. ground beef or turkey
  • 1 TBSP minced garlic
  • 1 TBSP parsley
  • 2 tsp paprika
  • 2 tsp Italian seasoning
  • 1 28oz can diced or pureed tomatoes
  • 1 14oz can tomato sauce
  • 1 8oz can tomato paste
  • 1 24oz jar marinara sauce
  • 1 tsp liquid beef bouillon or one bouillon cube
  • 2 tsp sugar
  • Fresh grated parmesan (optional)

Instructions

Heat oil in skillet and toss in onions.

Stir the onions for about 5 minutes until they are translucent and begin to turn golden.

Add ground beef or turkey and stir and break into small pieces until most of the pink is gone.

Drain most of the fat.

Then add garlic and spices and stir for 30 seconds.

Dump in tomatoes, tomato sauce, tomato paste, marinara, and bullion.

Bring to a boil for 3 minutes.

Stir in sugar.

Place in the thermal cooker and seal.

Let cook for 1-4 hours until you’re ready to eat.

Serve over noodles or vegetables and top with parmesan cheese.

7.8.1.2
12
http://thermalcookerrecipes.com/thermal-cooker-spaghetti-meat-sauce/
Copyright ThermalCookerRecipes.com

Thermalcookerrecipes.com provides recipes as a resource and educational tool only, and makes no food safety guarantees. We are not liable for any failure to meet food safety standards that may arise in your thermal cooking. We make every effort to ensure that our recipes meet established food safety standards. But all thermal cookers are not created equal, and there are many variables at play resulting in the temperatures reached and maintained in your thermal cooker. Always follow the manufacturer’s instructions for your specific brand and model of thermal cooker, even if that means tailoring our recipes.

If you are in doubt, please consult the FDA page on foodborne illness for safe cooking temperatures and other safety tips. And use a food thermometer to ensure that your food has been cooked and stored at a safe temperature.

Disclosure: This post may contain affiliate links. This means, we may receive a small commission if you choose to purchase something from a link we post. Don’t worry, it costs you nothing. Thank you for supporting our website!

Filed Under: Italian, Main Dishes, Meat, Sauces, Thermal Cookers

Indian Lemon Cilantro Chicken and Yellow Rice

October 6, 2016 by Kate Thompson 4 Comments

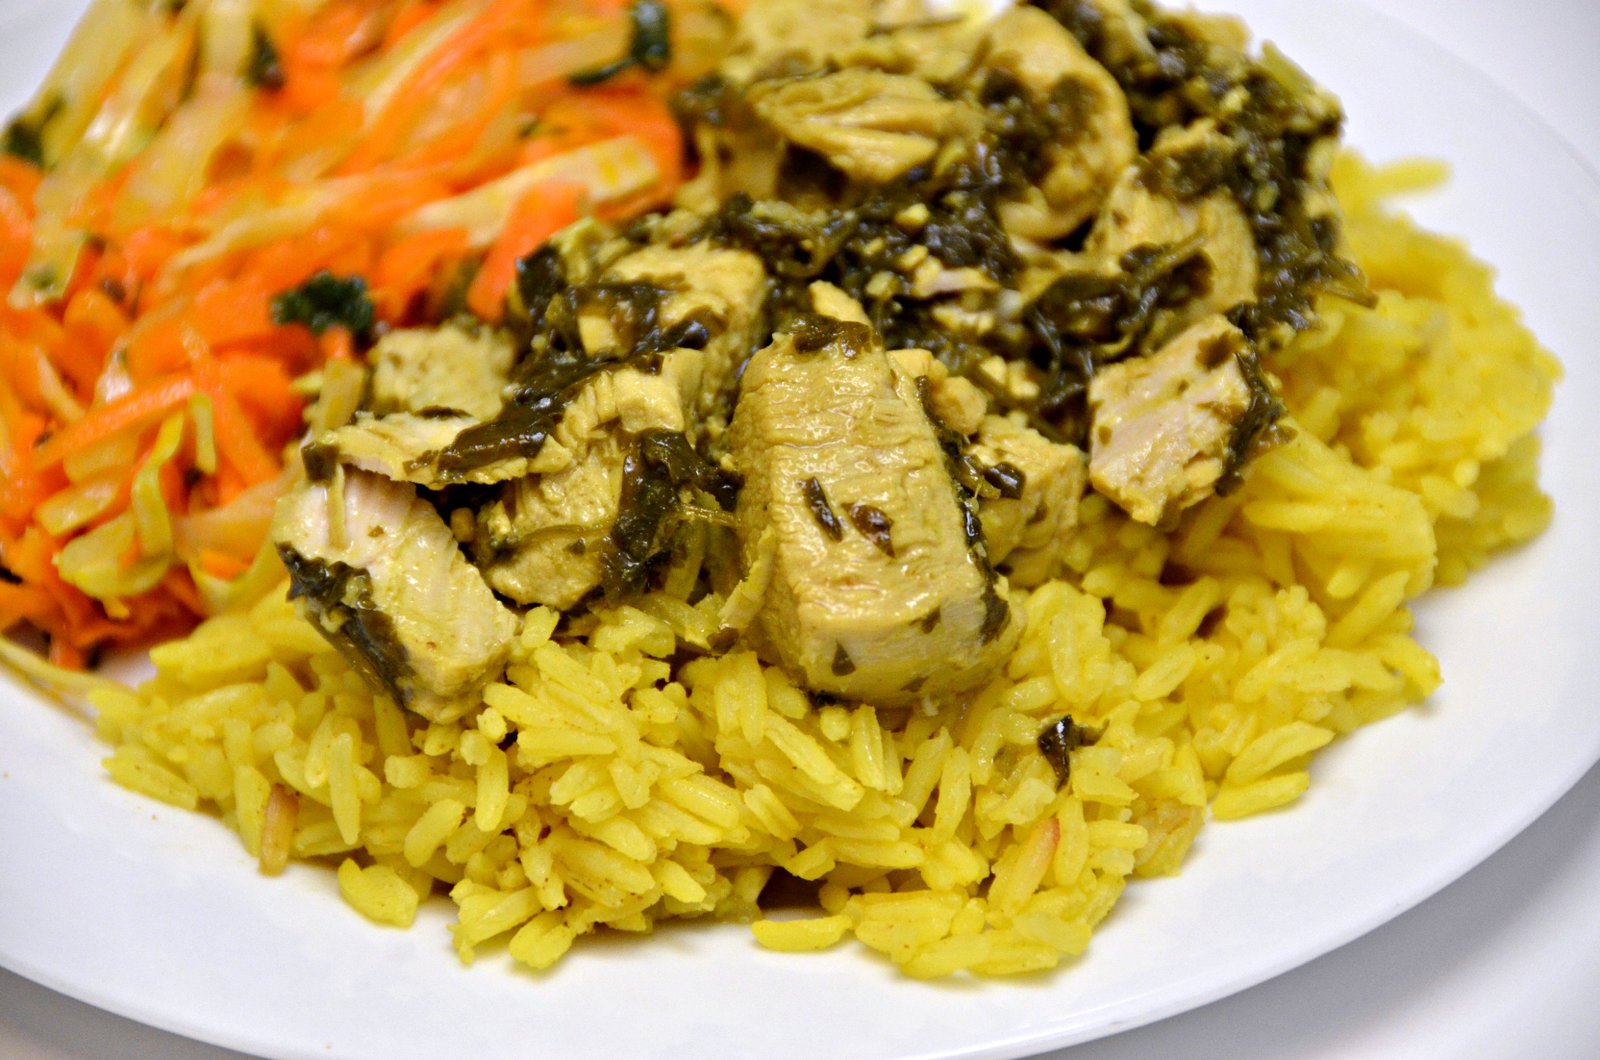
indian-chicken-sliderEverything delicious I know about Indian food, I learned from Madhur Jaffrey.

She is a goddess. This recipe is based on two recipes from her Indian Cooking book, Lemony Chicken with Fresh Coriander and Aromatic Yellow Rice.

Anyone I’ve ever made these for loves them and they turned out amazing in the thermal cooker.

You start by browning chicken chunks in your large pot with some oil. When they’re lightly browned but not cooked through, add your minced garlic, jalapeno, ginger paste, and spices.

Cook them for a minute until the spices are nice and fragrant.

Then add your liquids. Bring everything to a boil. When it’s boiling hard, to the point that it can’t be stirred down, let it continue to boil for three minutes. Then place the large pot in the cooker, cover and seal.

indian-chicken1

Yellow Rice

If you are make yellow rice as well in the upper pot (both recipes are included in this post.), start water boiling as the chicken finishes browning. Add rice and spices to the boiling water and boil for three minutes as well.

Nest the smaller rice pot inside the larger chicken pot.

Cover.

Seal.

Let cook.

This should be ready in 2 hours but can continue to cook for up to 8, depending on how heat efficient your personal thermal cooker is.

Nutrition

Calories

613 cal

Fat

38 g

Carbs

35 g

Protein

33 g
Click Here For Full Nutrition, Exchanges, and My Plate Info
ESHA Logo
Indian Lemon Cilantro Chicken and Yellow Rice
Save RecipeSave Recipe
Print Recipe
My Recipes My Lists My Calendar

Ingredients

  • 4 1-inch cubes fresh ginger peeled and coarsley chopped
  • 8 Tbsp plus 2 Cups water
  • 6 Tbsp vegetable oil
  • 4 chicken breast halves, cut into 1-inch pieces
  • 1 heaping Tbsp minced garlic
  • 5 bunches fresh cilantro
  • 1/2-1 fresh jalapeno
  • 1/4 tsp cayenne pepper
  • 4 tsp ground cumin
  • 2 tsp ground coriander
  • 1 tsp ground turmeric
  • 2 tsp salt, or to taste
  • 1/4 cup lemon juice
  • Rice Ingredients
  • 2 1/2 cups rice
  • 4 cups water
  • 1 tsp salt
  • 3/4 tsp turmeric
  • 3-4 whole cloves
  • 1 cinnamon stick
  • 3 bay leaves
  • 3 Tbsp butter, cut into small pats (optional)

Instructions

Blend ginger and 8 Tbsp water in an electric blender or food processor.

Heat the oil over medium heat in your large thermal cooker pot.

Add chopped chicken pieces and lightly brown.

Add garlic, ginger paste, jalapeno, and dry spices to pot with chicken and stir for 1 minute.

Add 2 cups water, fresh cilantro, and lemon juice.

Bring to a boil.

When the liquid is boiling so hard it cannot be stirred down, set a timer for three minutes and boil while stirring frequently.

Remove pot from heat, put a lid on it, and seal it in your thermal cooker.

Remove and serve over rice after 2-8 hours in the cooker, depending on how long your cooker will safely keep it warm.

If you're making rice, boil water.

Add rice and spices and boil hard for 3 minutes.

Place rice pot nested inside chicken pot.

Cover with lid, seal in thermal cooker, and let cook for 2-8 hours.

When ready to serve, fluff rice with fork and mix butter into the rice.

7.8.1.2
8
http://thermalcookerrecipes.com/indian-lemon-cilantro-chicken-and-yellow-rice/
Copyright ThermalCookerRecipes.com

Thermalcookerrecipes.com provides recipes as a resource and educational tool only, and makes no food safety guarantees. We are not liable for any failure to meet food safety standards that may arise in your thermal cooking. We make every effort to ensure that our recipes meet established food safety standards. But all thermal cookers are not created equal, and there are many variables at play resulting in the temperatures reached and maintained in your thermal cooker. Always follow the manufacturer’s instructions for your specific brand and model of thermal cooker, even if that means tailoring our recipes.

If you are in doubt, please consult the FDA page on foodborne illness for safe cooking temperatures and other safety tips. And use a food thermometer to ensure that your food has been cooked and stored at a safe temperature.

Disclosure: This post may contain affiliate links. This means, we may receive a small commission if you choose to purchase something from a link we post. Don’t worry, it costs you nothing. Thank you for supporting our website!

indian-chicken-pinterest

Filed Under: Indian Food, Main Dishes, Regional Food, Saratoga Jacks, Side Dishes, Thermal Cookers

Hamburger Volcanoes – Thermal Cooker Style – 10 Minutes to Prep

September 29, 2016 by Kate Thompson Leave a Comment

hamburger-volcanoes-slider

This recipe is cheating.

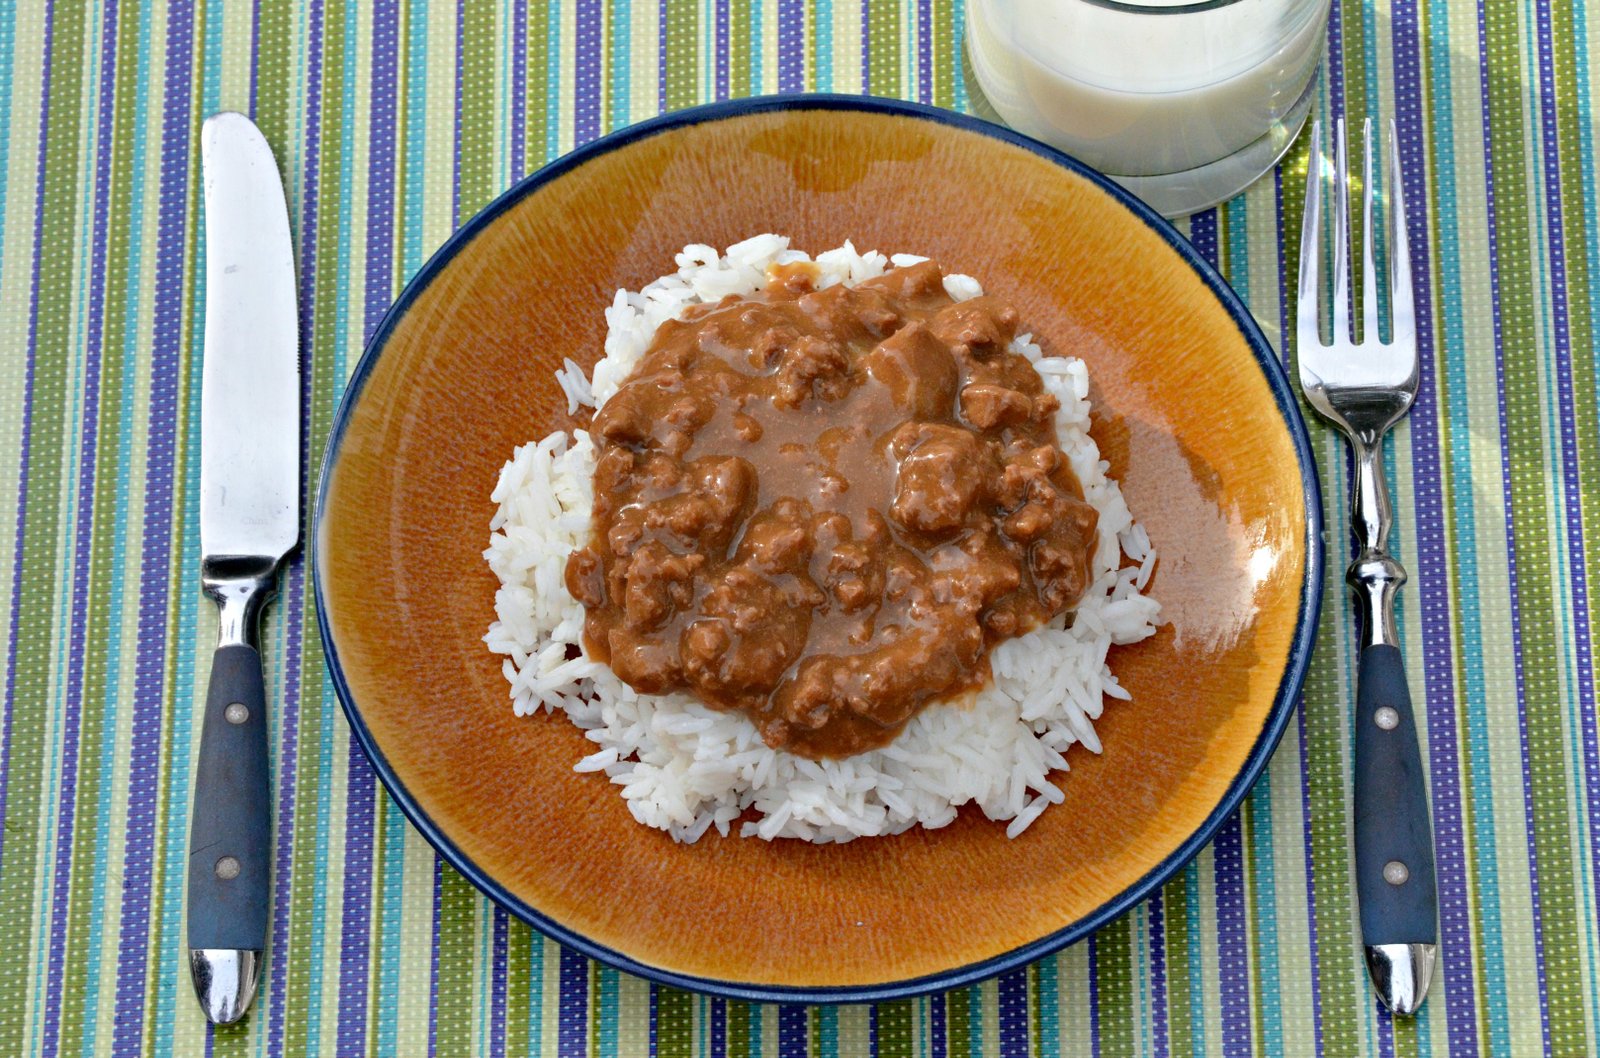
The entire meal takes a maximum of 10 minutes to prep and then it’s hot and ready for your family when you want it, fresh from the thermal cooker.

Even calling it a “recipe” feels like a bit of a stretch. It has so few ingredients and does use a prepared mix for the sauce. C’est la vie during soccer season, mes amies.

My family asks for this over and over again. Who am I to deny them? No one. That’s who.

It’s fast, easy, cheap, hot, and yummy. And thusly I comply with their demands.

hamburger-volcanoes-feature

This is another rice recipe so you prepare the rice by boiling water with a little salt, adding the rice and boiling it for a few minutes. Then you insert it into the thermal cooker. Detailed instructions to guide you through this incredibly detailed process can be found here.

The topping for the rice is made by browning some ground beef or turkey in the main pot. You then drain the meat and set it aside. Prepare a few packets of brown gravy mix in the pot. When is starts to boil, add the meat back in and boil for 3-5 minutes.

Then stick it in the pot. Nest the boiling rice inside. Put a lid on it. And seal.

Easy, peasy.

This will be done and ready to eat as soon as the rice is cooked through, about 2 hours, but it should stay good for up to 8. Of course check the temperature to make sure your particular has kept it hot enough for food safety.

This afternoon I made this as I helped my kids with their homework. Then I forgot about it until we got home from soccer at 7 pm. Score.

As a side note, we call these “volcanoes” because my mom used to make this meal with mashed potatoes. We’d form the potatoes into mountainous shapes and then fill the hole in the top with the meat and gravy “lava.” It’s not nearly as volcanic-looking with rice, but the principle’s the same and the name stuck.

Nutrition

Fat

4 g

Protein

2 g
Click Here For Full Nutrition, Exchanges, and My Plate Info
ESHA Logo
Hamburger Volcanos – Thermal Cooker Style
Save RecipeSave Recipe
Print Recipe
My Recipes My Lists My Calendar

Ingredients

  • 3/4 Cup Bulk Brown Gravy Mix (or use packets and follow directions)
  • 4 Cups Water
  • 1-2 lbs ground beef or turkey

Instructions

Brown meat in large thermal cooker pot.

Drain and set aside.

Prepare brown gravy mix in large thermal cooker pot according to package directions.

When gravy begins to boil, add prepared meat.

Boil for 3-5 minutes.

Place large thermal cooker pot in thermal cooker unit, cover with lid, and seal.

Wait 2-8 hours and enjoy over rice.

7.8.1.2
7
http://thermalcookerrecipes.com/hamburger-volcanoes-thermal-cooker-style-10-minutes-prep/
Copyright ThermalCookerRecipes.com

Thermalcookerrecipes.com provides recipes as a resource and educational tool only, and makes no food safety guarantees. We are not liable for any failure to meet food safety standards that may arise in your thermal cooking. We make every effort to ensure that our recipes meet established food safety standards. But all thermal cookers are not created equal, and there are many variables at play resulting in the temperatures reached and maintained in your thermal cooker. Always follow the manufacturer’s instructions for your specific brand and model of thermal cooker, even if that means tailoring our recipes.

If you are in doubt, please consult the FDA page on foodborne illness for safe cooking temperatures and other safety tips. And use a food thermometer to ensure that your food has been cooked and stored at a safe temperature.

Disclosure: This post may contain affiliate links. This means, we may receive a small commission if you choose to purchase something from a link we post. Don’t worry, it costs you nothing. Thank you for supporting our website!

hamburger-volcanoes-pinterest2

Filed Under: Asian, Main Dishes, Meat, Thermal Cookers

Simple Slow-Cooked Swiss Steak

September 15, 2016 by Kate Thompson Leave a Comment

swiss-steak-slider
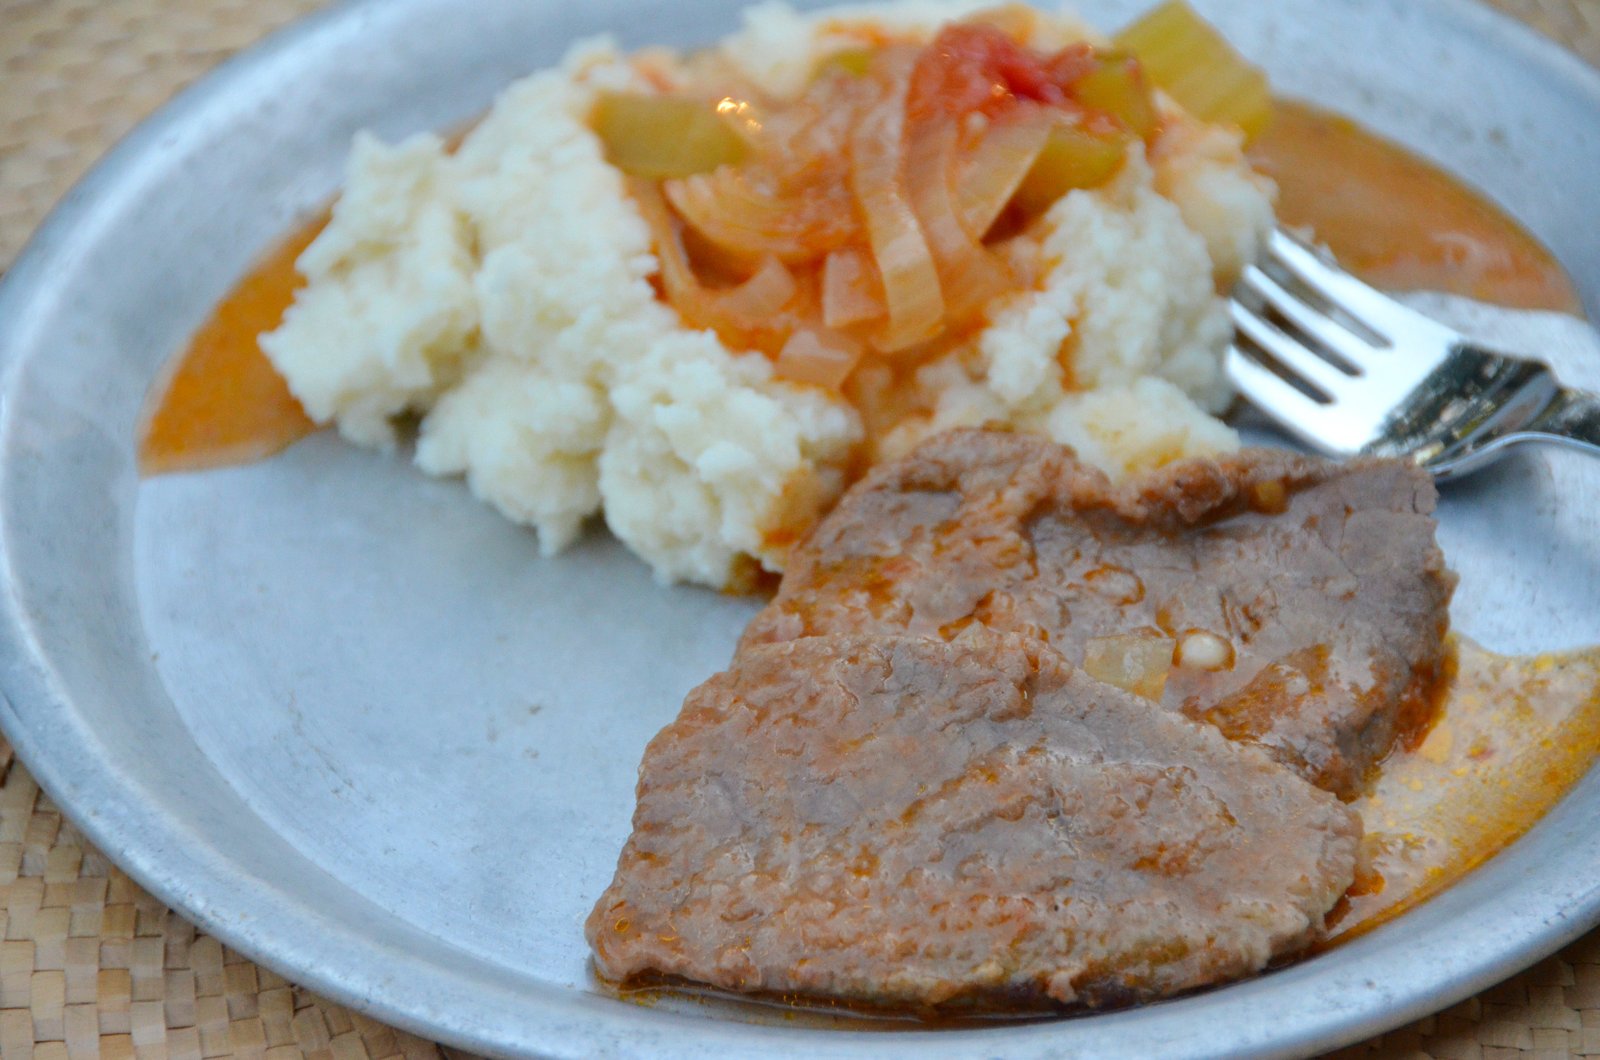
Swiss steak is a family favorite I’ve been enjoying since I was a little girl. It’s a comforting, filling meal, very easy to make and super delicious. It makes me think of Sunday dinners with my mom. It makes my mouth happy.

I’ve made it several times in the slow cooker for my family but my husband commented that this version in the thermal cooker was his favorite yet.

We decided the difference was that the vegetables don’t get nearly as mushy in the thermal cooker. They aren’t crisp by any means but they also aren’t pulverized.

I chose to make mashed potatoes this time for maximum comfort food. I got them PIPING hot and put them in the smaller nesting pot where they stayed nice and warm for the 6 ½ hours I had the meat cooking in the Saratoga Jacks.

However, this recipe is also really nice with rice or noodles.

I got home from an all-afternoon doctor’s appointment with my daughter, set the table, and when my husband walked in from work five minutes later, we ate. No stress.

Swiss Steak Quick Instructions

To make this meal, you dredge serving-sized pieces of steak in flour with a little salt and pepper. Then you brown them in oil in your thermal cooker pot, pour off excess fat and cover them with canned tomatoes and chopped vegetables. Boil the whole thing for at least three minutes, lid and seal it, and let it cook.

Nutrition

Fat

12 g

Protein

3 g
Click Here For Full Nutrition, Exchanges, and My Plate Info
ESHA Logo
Simple Slow-Cooked Swiss Steak
Save RecipeSave Recipe
Print Recipe
My Recipes My Lists My Calendar

Ingredients

  • 2 lbs. round steak
  • 4 Tbsp flour
  • 2 tsp. Salt
  • 1/4 tsp pepper
  • 3 Tbsp oil
  • 2 (16 oz.) cans diced tomatoes
  • 1 large onion (sliced)
  • 2 stalk celery (sliced thinly)
  • 1 Tbsp. bottled steak sauce

Instructions

Cut steak into serving-sized pieces.

Coat with flour, salt & pepper. (I put them all in a plastic bag and shake them around.)

Brown beef in oil in single layer batches in large thermal cooker pot.

Pour off excess fat. Add all browned beef back into pot.

Add tomatoes, onion, celery & steak sauce to pot, being sure to cover all beef pieces.

Boil for at least three minutes.

Cover and seal your thermal cooker. Allow to cooker for 5-7 hours.

Serve with mashed potatoes, noodles or rice.

7.8.1.2
4
http://thermalcookerrecipes.com/simple-slow-cooked-swiss-steak/
Copyright ThermalCookerRecipes.com


swiss-steak-pin

Thermalcookerrecipes.com provides recipes as a resource and educational tool only, and makes no food safety guarantees. We are not liable for any failure to meet food safety standards that may arise in your thermal cooking. We make every effort to ensure that our recipes meet established food safety standards. But all thermal cookers are not created equal, and there are many variables at play resulting in the temperatures reached and maintained in your thermal cooker. Always follow the manufacturer’s instructions for your specific brand and model of thermal cooker, even if that means tailoring our recipes.


If you are in doubt, please consult the FDA page on foodborne illness for safe cooking temperatures and other safety tips. And use a food thermometer to ensure that your food has been cooked and stored at a safe temperature.

http://www.fda.gov/food/foodborneillnesscontaminants/buystoreservesafefood/ucm255180.htm

Disclosure: This post may contain affiliate links. This means, we may receive a small commission if you choose to purchase something from a link we post. Don’t worry, it costs you nothing. Thank you for supporting our website!

Filed Under: Comfort Food, Main Dishes, Meat

Thermal Cooker Bulgogi – Korean BBQ

September 12, 2016 by Heather Clark 2 Comments

Thermal Cooker Bulgogi - Slider

My sister-in-law is from Korea. She cooks the best food ever. This thermal cooker bulgogi is not one of her recipes. 🙁

But it is DELICIOUS, and until she comes over from Korea again to cook me her homemade bulgogi, this will have to do. Also, in the thermal cooker, it was about a 10 minute total project, and it came out piping hot. The meat was all intact, but melt-in-your-mouth tender, and the rice was perfect. All this after seven hours cooking, and being transported to a Korean themed bachelorette party —don’t ask!

Thermal Cooker Bulgogi - Featured

The joy of this, like most of our recipes is that to cook it, you dump the ingredients into your large pot, boil hard for three minutes, and put it into the cooker to cook. This was a fun experiment, because I just let the rice go the whole time, hoping it wouldn’t overcook. It was absolutely delicious! Better for certain than 7 hours in the rice cooker on warm.

I felt like a cooking superstar, and it was easy as anything!

Thermal cooker bulgogi also freezes very well. And you will probably want to freeze it, because this recipe makes a lot. Air is your enemy, as it brings down your food temperatures too quickly, so I always cook in larger amounts, and freeze leftovers.

See Kathryn’s recipe for instructions on the rice that I cooked in the nesting upper pot.

Nutrition

Calories

7 cal

Carbs

2 g
Click Here For Full Nutrition, Exchanges, and My Plate Info
ESHA Logo
Thermal Cooker Bulgogi – Korean BBQ
Save RecipeSave Recipe
Print Recipe
My Recipes My Lists My Calendar

Ingredients

  • 1 C soy sauce
  • 1/2 C white sugar
  • 1 C chopped green onion
  • 1/3 C minced garlic
  • 1/2 C sesame seeds
  • 1/2 C sesame oil
  • 2 tsp ground black pepper
  • Water until beef is just covered (1-2 C)
  • 3 inch piece puréed fresh ginger
  • 4 pounds thin-sliced beef roast

Instructions

Purée fresh ginger in soy sauce and sesame oil and garlic, Add all ingredients to thin-sliced beef in large inner pot of thermal cooker. Add enough water to cover beef. Bring to a hard boil for at least 3-5 minutes, stirring consistently.

Place pot into thermal cooker, add nesting pot with prepared white rice. Seal, and cook for a minimum of 6 and a maximum of 8 hours.

Serve bulgogi over rice with steamed broccoli or other side vegetables.

7.8.1.2
2
http://thermalcookerrecipes.com/thermal-cooker-bulgogi-korean-bbq/
Copyright ThermalCookerRecipes.com

**This post contains affiliate links**

Thermal Cooker Bulgogi - Pinterest

Thermalcookerrecipes.com provides recipes as a resource and educational tool only, and makes no food safety guarantees. We are not liable for any failure to meet food safety standards that may arise in your thermal cooking. We make every effort to ensure that our recipes meet established food safety standards. But all thermal cookers are not created equal, and there are many variables at play resulting in the temperatures reached and maintained in your thermal cooker. Always follow the manufacturer’s instructions for your specific brand and model of thermal cooker, even if that means tailoring our recipes.


If you are in doubt, please consult the FDA page on foodborne illness for safe cooking temperatures and other safety tips. And use a food thermometer to ensure that your food has been cooked and stored at a safe temperature.

http://www.fda.gov/food/foodborneillnesscontaminants/buystoreservesafefood/ucm255180.htm

Disclosure: This post may contain affiliate links. This means, we may receive a small commission if you choose to purchase something from a link we post. Don’t worry, it costs you nothing. Thank you for supporting our website!

Filed Under: Asian, Main Dishes, Regional Food, Saratoga Jacks, Thermal Cookers

Primary Sidebar

Subscribe for More Recipes

Visit Us On FacebookVisit Us On YoutubeVisit Us On TwitterVisit Us On PinterestCheck Our Feed

Buy Your Saratoga Jack Thermal Cooker Today!


These are affiliate links. You help support our site when you purchase your thermal cooker products here.

Unveiling the New Cooker

This error message is only visible to WordPress admins

Error: No connected account.

Please go to the Instagram Feed settings page to connect an account.

Copyright © 2021 · Foodie Pro Theme by Shay Bocks · Built on the Genesis Framework · Powered by WordPress